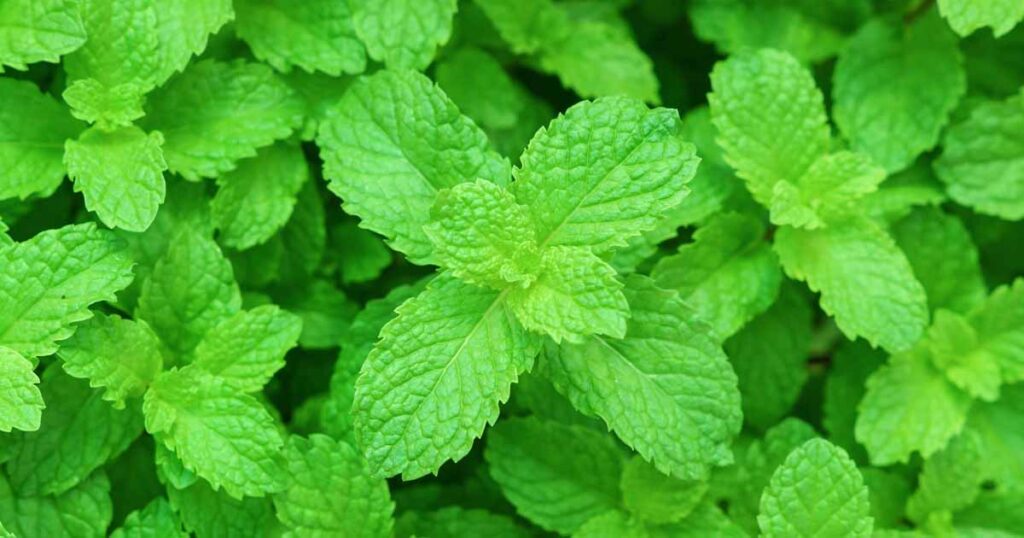
Mint is a hardy, frost-tolerant plant that thrives in the harshest of environments with the bare minimum of nutrients and moisture. Mint plants will take over your entire garden bed if you don’t keep them trimmed on a regular basis, and you won’t be able to grow anything else nearby. Plus, when it reaches a certain stage of development, such as flowering or seed production, it loses its flavor and fragrance.
How & Why To Prune Mint
What Is the Best Way to Trim a Mint Plant?
It is vital to choose the ideal timing and method for trimming the plant. Otherwise, it’s possible that it won’t grow back. Today, I’ll show you how and when I trim both potted and ground mint to produce the most yield and keep it healthy all year long.
When Should You Trim Your Mint Plant?
Mint stops growing in the winter, and its leaves might turn virtually lifeless and unresponsive. Insects and pest illnesses love this time of year to infest the plants. As a result, right before winter, it’s necessary to cut the mint plant down to the garden level. The roots and developed stems can withstand harsh winters and will recover in the spring to their full capacity.
In addition, I keep an eye out for unruly and overgrown mint portions beneath the bushes and clip them as needed. The optimum time to pick mint for a significant yield is right before it blooms. Make sure you look for mint buds regularly. The mint plant is preparing to blossom, as indicated by this sign. Pruning and trimming the plant at this time is ideal.
What Is The Best Way To Trim A Mint Plant?
A sharp knife or scissors can be used to trim or prune the mint plant. Look for a stem that has grown 3 to 4 inches long when clipping mint for daily usage in the kitchen. Then gently clip the stem, leaving it at least 2 inches above the ground and with at least 2 leaves. It will speed up the recovery of mint.
If your mint plant is out of control and has taken over your garden space, cut the entire plant down to a stem that is barely one inch above the ground. You should trim the excessive stem of potted mint to about one inch above ground level on a regular basis. Depending on the size of your potted mint plant, you may need to trim it so that it remains healthy and attractive.
Be Careful
Always prune or trim the mint plant first thing in the morning. It shields the freshly cut portions from direct sunlight.
Trim the plant before it sets seed to avoid self-seeding uncontrolled growth that can take over the entire garden bed.
Water the mint plant immediately after cutting to ensure a healthy and thick growth.
Do not cut or harm the new growth growing out of the overly leggy stem when pruning it.
Frequently Asked Questions
What’s the best way to get rid of leggy mint?
Just one inch above the ground, cut back the overgrown and lanky plants. It will aid the mint’s development in the growing season, allowing it to be fresh and flush.
What is the maximum number of times you can gather mint?
If given enough moisture, organic fertilizer, some shade, and sunlight, mint may quickly cover an entire garden bed. As a result, the mint can be harvested four to five times during the growing season. However, right before the mint plant blooms is the finest time to collect it. It’s the time of year when mint’s smell and taste oils are at their peak.
What do you do with mint after it has bloomed?
Mint leaves can be harvested after flowering, but they will not be as tasty or aromatic as they were before blooming. After the mint has finished flowering, cut the stem down to approximately one inch above the ground. During the growth season, it will assist mint in regaining its full potential.
Conclusion
I hope that my knowledge will assist you in obtaining the biggest yield with the best flavor and smell. In addition, I would suggest putting the mint in a container because it is simpler to manage and regulate the plant’s uncontrolled development.
